Moisture Behind Siding in Warren, MI
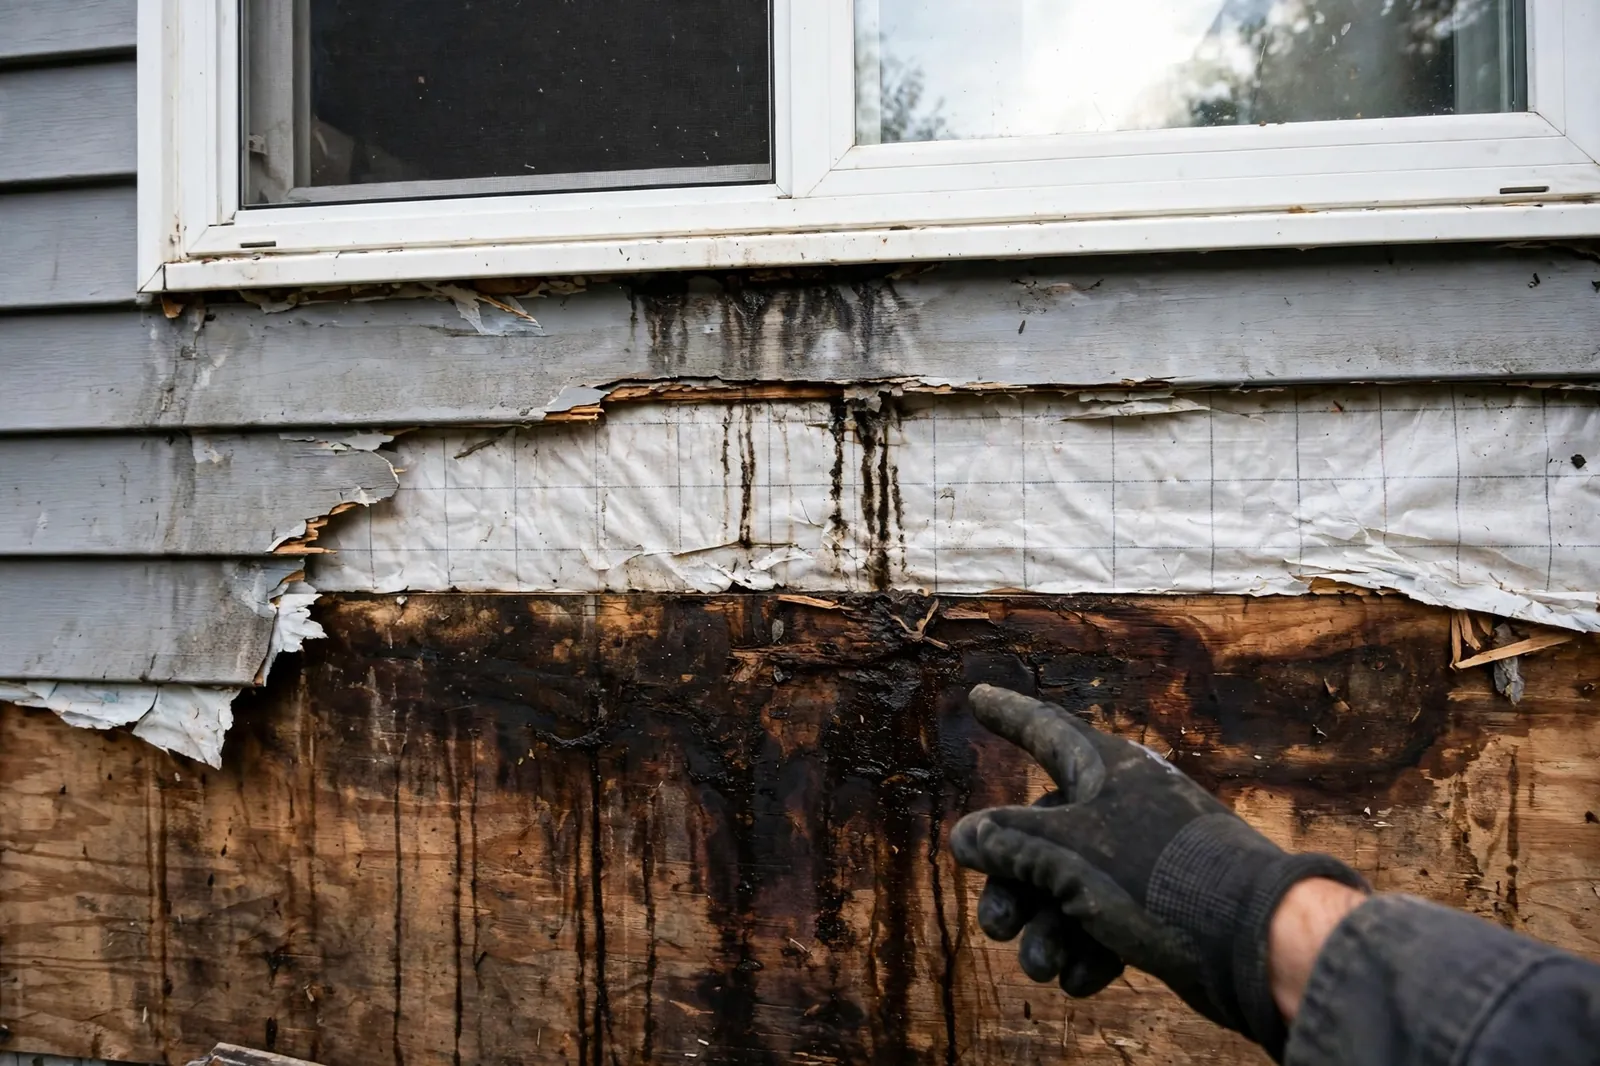
Moisture behind siding is the problem Warren homeowners cannot see and should not ignore. The wall looks straight from the street while the sheathing behind the bottom course is soft, the window flashing has been leaking for years, and the housewrap is torn at every penetration — and the only way to know is to open the wall and look.
Call Now
Describe what your siding is doing and where you are — a local siding professional is connected from there.
Call NowMon–Fri 7:00 AM–10:00 PM ET · Sat 8:00 AM–10:00 PM ET · Sun 7:00 AM–9:00 PM ET
What is moisture behind siding?
Siding is a drained system, not a sealed one. Rain gets behind the cladding — through a joint, a flashing gap, a nail hole — and the wall is designed to let that water out: it runs down the housewrap and out at the bottom, and air moving behind the panels helps the wall dry. When that drainage path works, the wall stays dry. When it does not — the housewrap is torn, the bottom edge is sealed shut, the flashing has failed — the water sits against the sheathing, and the freeze-thaw cycle works on it all winter.
The signs of moisture behind siding are indirect, and they are easy to miss. A stain below a window. A soft spot at the bottom course. Paint peeling on the inside of an exterior wall. A musty smell near the foundation. A wall that stays damp on the shaded side for days after rain. Each one is a clue, and each one points to a place where water is getting in or cannot get out. The visit reads those clues the way a doctor reads symptoms — not as the problem, but as the map to the problem.
The only certain check is opening the wall. A test area of cladding is removed, and the sheathing, the housewrap, and the flashing are seen and photographed. What is found there sets the scope of the work — the sheathing that needs replacing, the housewrap that needs repair, the flashing that needs correction — and the wall is detailed so it can drain and dry before new cladding goes on.
How water gets behind siding
Water gets behind siding through the joints, the flashing gaps, and the penetrations — the window, the door, the vent, the meter, the hose bib. Each one is a place where the cladding is cut, and each cut is a place where water can get in. The flashing at each opening is the detail that keeps the water out, and when the flashing fails — a gap, a tear, a piece that was never installed — the water runs into the wall and down behind the cladding.
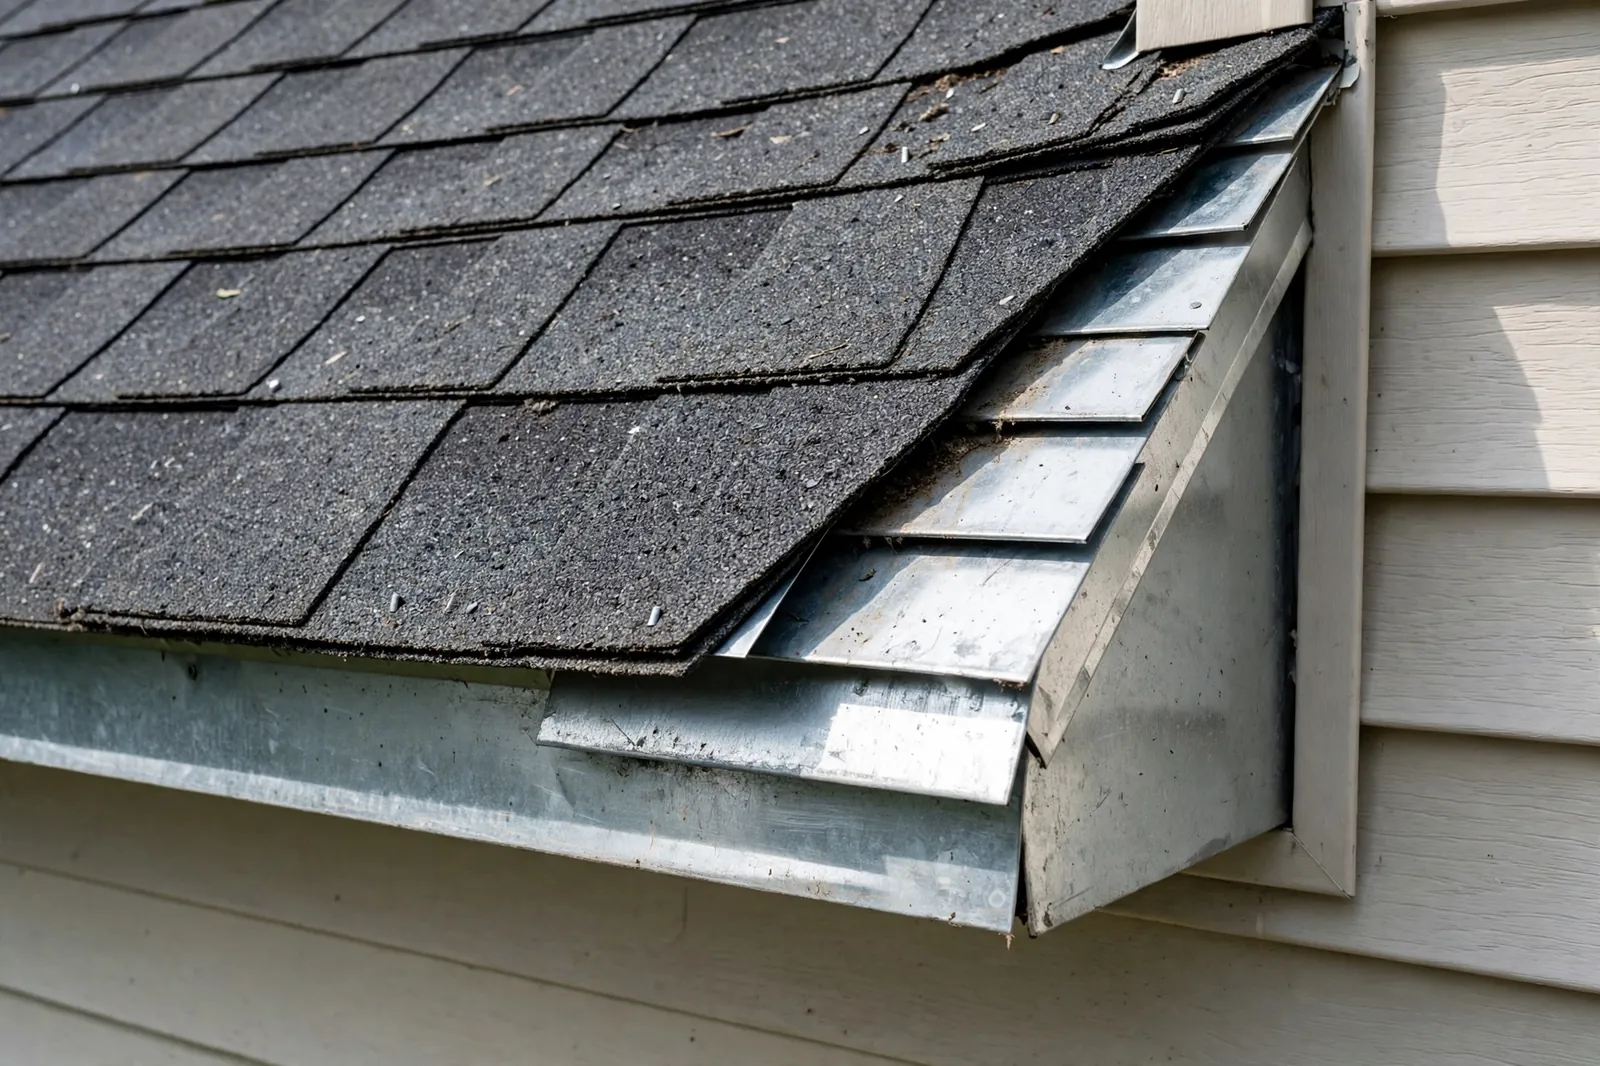
Water also gets in through the bottom edge, when the bottom course sits too close to grade or a deck and wicks water up behind the cladding. And it gets in through the top, when the roof-to-wall flashing fails and roof water runs into the wall at the roofline. The wall is designed to handle the water that gets in — to drain it out at the bottom and dry it with air moving behind the panels — and the failures are the failures of that drainage and drying path.
How moisture is found
The signs are indirect: a stain below a window, a soft spot at the bottom course, paint peeling on the inside of an exterior wall, a musty smell near the foundation, a wall that stays damp on the shaded side. Each one is a clue, and the visit reads them together — the stain below the window points to the flashing above it, the soft spot at the bottom points to the clearance below it, the damp shaded wall points to a drainage path that is not working.
The certain check is opening the wall. A test area of cladding is removed, and the sheathing, the housewrap, and the flashing are seen and photographed. The sheathing is pressed for soft spots, the housewrap is checked for tears, and the flashing is checked for gaps. What is found there is the record the repair is planned from, and it is shown to the homeowner before any work starts.
How the wall is detailed to drain and dry
The wall is detailed so water has a predictable path out: flashing at every penetration, a drainage gap where the wall needs it, and a bottom edge that can drain and dry. The housewrap is repaired or replaced where it is torn, the flashing is corrected where it has failed, and the bottom edge is set clear of grade and above decks and patios. The cladding goes back on as a drained system — hung loose, locked fully, with the bottom edge open to drain — not as a sealed skin.
The drying path matters as much as the drainage path. Air moving behind the panels helps the wall dry, and a wall that is sealed tight behind the cladding traps water against the sheathing. The visit leaves the wall able to breathe — the soffit vented, the bottom edge open, the housewrap breathable — because a wall that can dry is a wall that will last.
Other wall problems in Warren
Cracked & Warped SidingRotted SidingFaded & Peeling SidingLoose Siding & Wind DamageDrafty Walls & Poor Insulation
Frequently asked questions
Straight answers to the questions Warren homeowners ask most.
The signs are indirect: a stain below a window, a soft spot at the bottom course, paint peeling on the inside of an exterior wall, a musty smell near the foundation, or a wall that stays damp on the shaded side for days after rain. The only certain check is opening a test area of cladding and looking at the sheathing, the housewrap, and the flashing behind it.
Water gets in through the joints, the flashing gaps, and the penetrations — the window, the door, the vent, the meter. It also gets in through the bottom edge, when the bottom course sits too close to grade, and through the top, when the roof-to-wall flashing fails. The failures are the failures of the drainage and drying path: torn housewrap, a sealed bottom edge, a flashing gap, or a wall that cannot breathe.
Moisture in the wall can lead to musty smells and damp patches on the inside of exterior walls, and it can soften the sheathing and the framing behind the cladding. The site does not make health claims. What the visit provides is a wall inspection — the sheathing, the housewrap, and the flashing are seen and photographed — and a repair that restores the drainage and drying path, so the wall can dry.
The wall is opened at the affected area, the soft sheathing is replaced, the torn housewrap is repaired, and the flashing is corrected. The wall is detailed so water has a predictable path out — flashing at every penetration, a drainage gap where the wall needs it, and a bottom edge that can drain and dry. The cladding goes back on as a drained system, not as a sealed skin.
Talk about moisture behind siding on your wall?
One call connects you with a local siding professional for Warren and the towns around it.
Call NowTalk to a local siding professional
One call connects you with a local professional for Warren and nearby towns. Describe what your siding is doing — what cracks, what rattles, what stains — and the visit is arranged from there.
Mon–Fri 7:00 AM–10:00 PM ET · Sat 8:00 AM–10:00 PM ET · Sun 7:00 AM–9:00 PM ET
Service area
Sterling Heights, MI · Troy, MI · Madison Heights, MI · Roseville, MI · Eastpointe, MI · Clinton Township, MI · Shelby Township, MI · Fraser, MI · Center Line, MI · Detroit, MI
Warren Siding Pros is a referral service connecting customers with local siding professionals; it is not itself the service company.