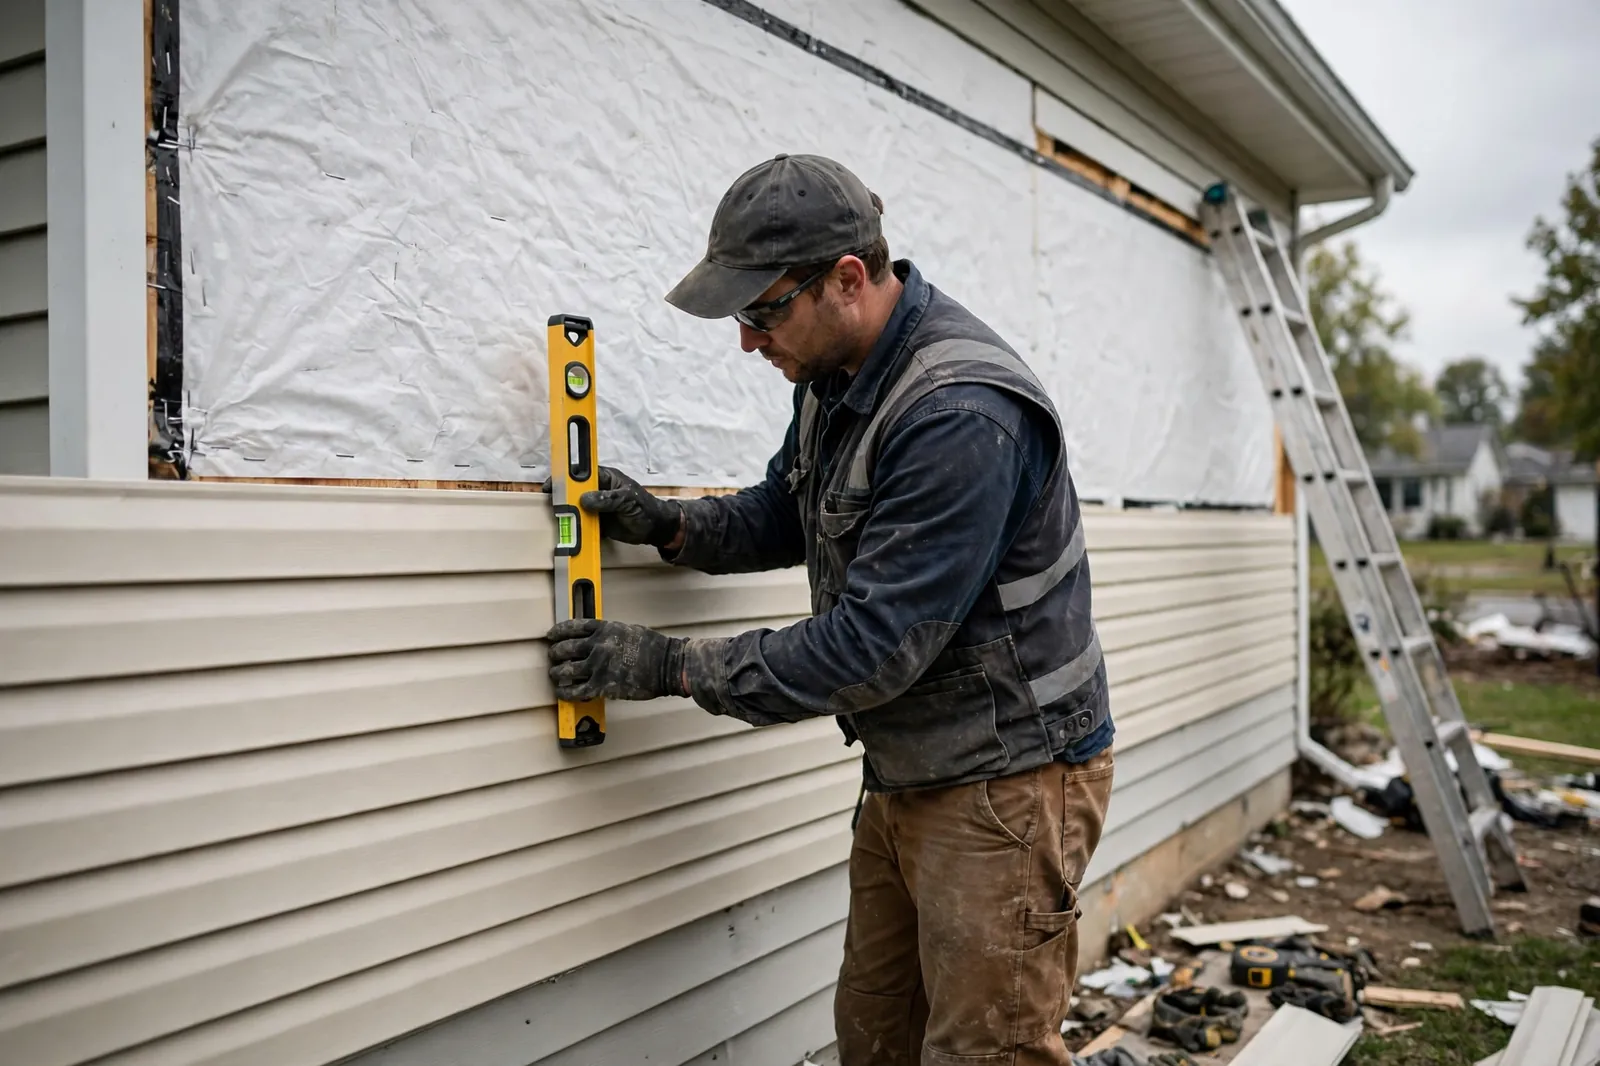
Vinyl Siding Installation in Warren, MI
Vinyl siding installation for Warren homes starts with a wall inspection, not a panel order. The visit looks at what is underneath the old cladding, how water leaves the wall, and which elevations take the worst of the Michigan winter — then the new siding is planned around that wall.
Call Now
Describe what your siding is doing and where you are — a local siding professional is connected from there.
Call NowMon–Fri 7:00 AM–10:00 PM ET · Sat 8:00 AM–10:00 PM ET · Sun 7:00 AM–9:00 PM ET
What is vinyl siding installation?
Vinyl siding is the cladding most Warren homes already wear. Walk the streets off Van Dyke, Hoover Road, or 12 Mile and the pattern repeats: a 1950s or 1960s ranch or colonial, brick on the front in some cases, vinyl on the sides and back, with the original wood trim long since covered or replaced. Vinyl became the default here for a reason — it never needs paint, it sheds rain, and it handles the wet side of a Michigan winter without absorbing water the way wood does.
That does not make vinyl a fit-and-forget material. Vinyl is plastic, and plastic moves with temperature. A 12-foot panel grows and shrinks about half an inch across a 100-degree swing, and a Warren wall sees that swing many times a year — a January night near single digits, a sunny afternoon in the forties, then back below freezing overnight. Panels that are nailed tight cannot move, so they buckle, oil-can, or pull out of their locks. Panels hung correctly float on their nails and slide as the wall breathes.
An installation visit therefore spends its first hour on the wall, not the siding. The crew checks the sheathing behind the old cladding, the housewrap or felt, the flashing at windows and doors, the corners, and the ground clearance at the bottom course. Vinyl hides a surprising amount of wall trouble — soft sheathing, a missing flashing, a window that has been leaking into the wall for years. Finding those things before the new panels go on is the difference between siding that looks right for a season and siding that stays right through a decade of freeze and thaw.
How vinyl siding installation works
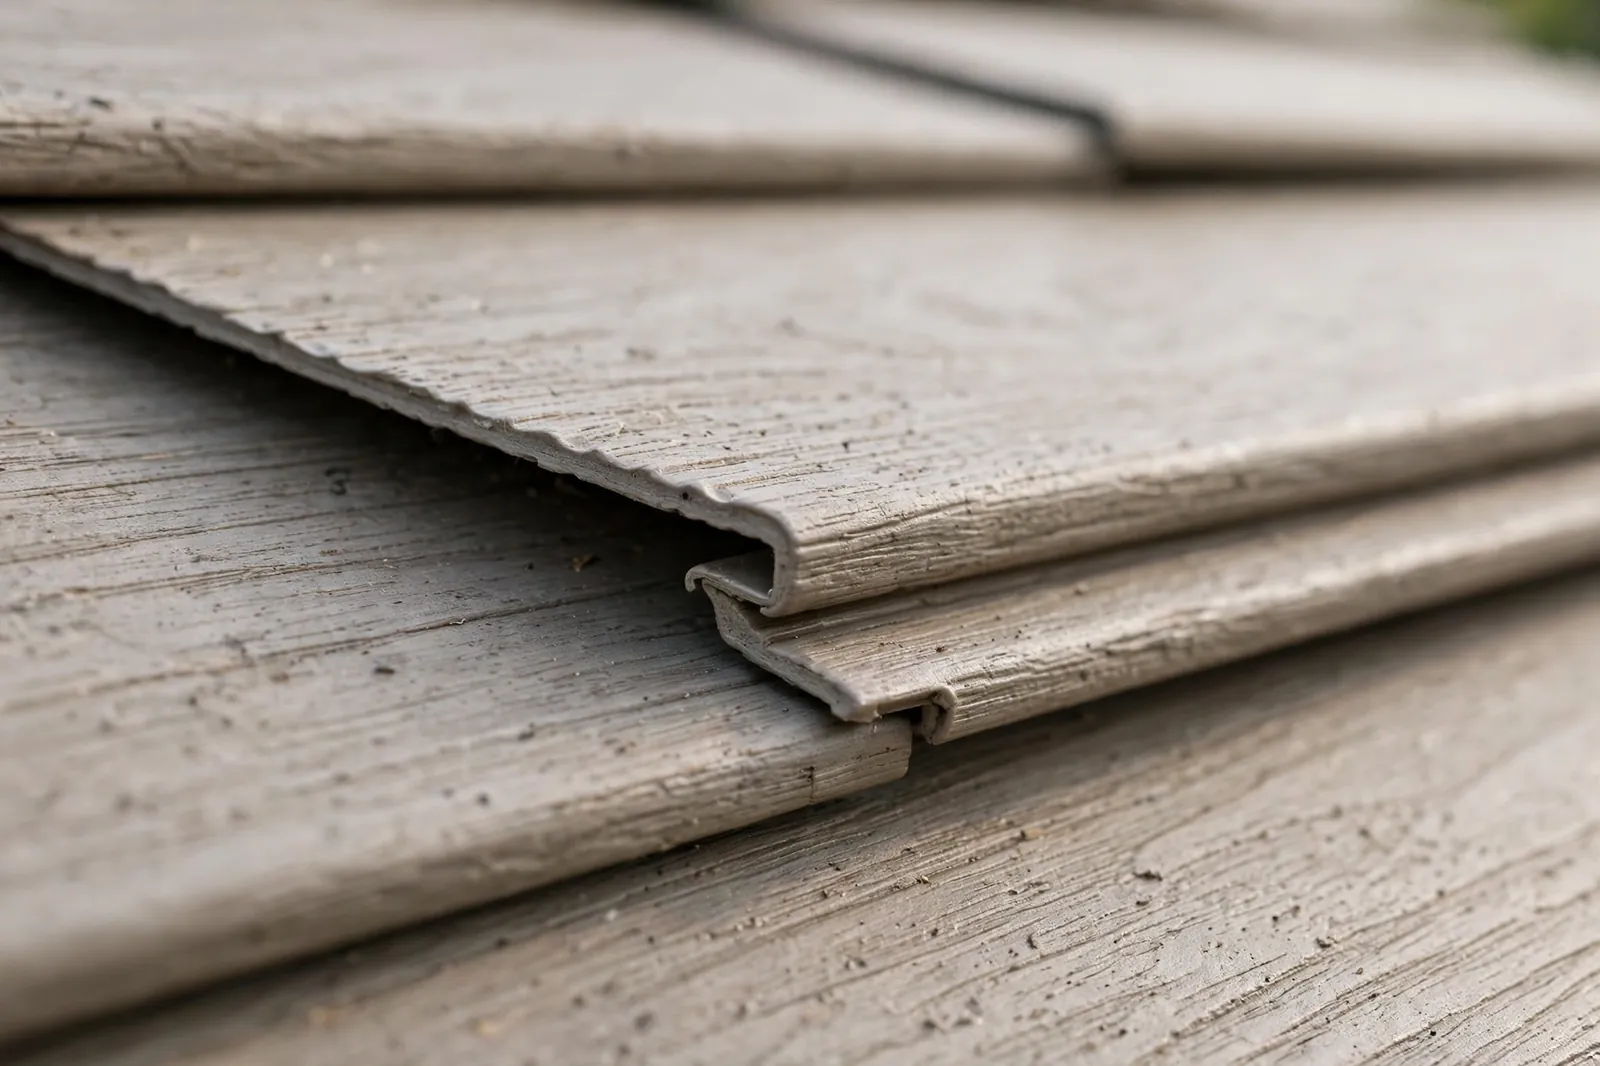
Vinyl siding is extruded PVC formed into horizontal panels that lock together along their length. Each panel hangs from nails driven through slots, deliberately loose, so the panel can slide sideways as it expands and contracts. The system is not sealed tight to the wall: it is a drained, ventilated cladding. Rain that gets behind a panel runs down the housewrap and out at the bottom, and air moving behind the panels helps the wall dry.
Modern vinyl has moved a long way from the thin, chalky panels of the 1980s. Thicker profiles hold their shape in cold weather, deeper wood-grain embossing reads as painted wood from the street, and insulated backing panels add a rigid foam layer that stiffens the panel and quiets the hollow sound vinyl used to make. The material itself does not rot, does not feed insects, and does not absorb water — which is why it survives the wet, freeze-thaw side of a Michigan winter as well as it does.
Signs you may need vinyl siding installation
Panels that buckle or wave
A wall that ripples in the sun or shows a long horizontal wave is usually a nailing problem, not a panel problem. When panels are nailed tight, expansion has nowhere to go, so the panel bows outward between fasteners. The visit checks whether the panels can slide in their slots; if they cannot, the fix is re-hanging, not a new panel.
Cracks after a cold snap
Vinyl turns brittle in deep cold. A ladder foot, a thrown chunk of ice, or a branch in a January wind can crack a panel that would have flexed harmlessly in July. Small cracks let wind-driven rain behind the cladding, and in a freeze-thaw climate that water works on the sheathing all winter.
Fading and chalking
Sun breaks down the surface of older vinyl, and the south and west elevations go first. A chalky film on your hand after touching the wall, or a panel that is visibly lighter than the same panel under the eaves, means the surface has aged past its useful life even if the panel still hangs straight.
Loose panels and rattling in wind
A panel that rattles in a Lake St. Clair wind has usually lost its lock — the bottom edge no longer engages the panel below — or it was under-nailed and has worked loose over seasons of expansion and contraction. A loose panel is an open door for wind-driven rain.
Stains and streaks below windows
Dark streaks under a window or a door tell a story about water, not about dirt. They usually mark a flashing gap or a failed seal where water has been running down the wall behind the siding and finding its way out at a joint. The visit traces the streak to its source before any panel is replaced.
Mold or soft spots at the bottom course
The bottom course sits closest to splash-back from the ground, and it is the first place a wall shows trouble. Soft sheathing behind the bottom panels, a musty smell near the foundation, or paint peeling on the inside of an exterior wall all point to water that has been sitting against the wall instead of draining away.
What the service includes
Wall inspection before work
The existing cladding comes off in a test area first, so the sheathing, housewrap, and flashing can be seen and photographed before the full job is planned.
Housewrap and flashing repair
Torn housewrap is replaced, window and door flashing is corrected, and the water path out of the wall is restored before any new panel goes on.
Panel installation, hung loose
Panels are nailed in the centre of their slots with room to slide, locked fully along their length, and lapped so wind-driven rain runs outward.
Corner posts, J-channel, and trim
Corners, window and door trim, and the starter strip are set plumb and level, because every panel on the wall follows the line the trim sets.
Soffit and fascia tie-in
The new siding meets the soffit and fascia cleanly, with vents kept open so the attic can breathe and the eaves do not trap moisture.
Walk-through and clean-up
Every elevation is walked with the homeowner at the end, locks and laps are checked by hand, and the yard is left clear of cut-offs and nails.
Options and choices
Horizontal lap siding is the Warren default — the profile most of the city's ranch and colonial homes already carry, and the one that suits a freeze-thaw climate because each panel overlaps the one below and sheds water outward. Dutch lap adds a shadow line that reads as traditional wood siding from the street. Vertical board-and-batten suits gable ends and accent walls, and it changes the look of a plain ranch without changing the material.
Insulated vinyl adds a contoured foam backing bonded to the panel. It stiffens the wall, softens the hollow sound, and adds a layer of continuous insulation behind the cladding. On a 1960s Warren ranch with thin wall insulation, that backing is often the most noticeable change the homeowner feels in winter — fewer cold spots on the inside of exterior walls.
Colour choice matters more in Michigan than in a mild climate. Dark colours absorb more sun and move more with temperature, so they demand the same loose-hung discipline as any vinyl, with extra attention to expansion gaps. Lighter colours move less and show less fading over time. The visit talks through how the colour will behave on the sunniest elevation of your home before it is ordered.
What happens when you call
Call and visit
One call arranges a visit. The crew walks every elevation with you, notes the siding type already on the wall, and listens for the problems you have already spotted — the rattling panel, the stain, the cold room.
Wall inspection
A test area of old cladding is opened so the sheathing, housewrap, and flashing can be inspected. What is found there sets the scope of the work, not the other way around.
Plan and material choice
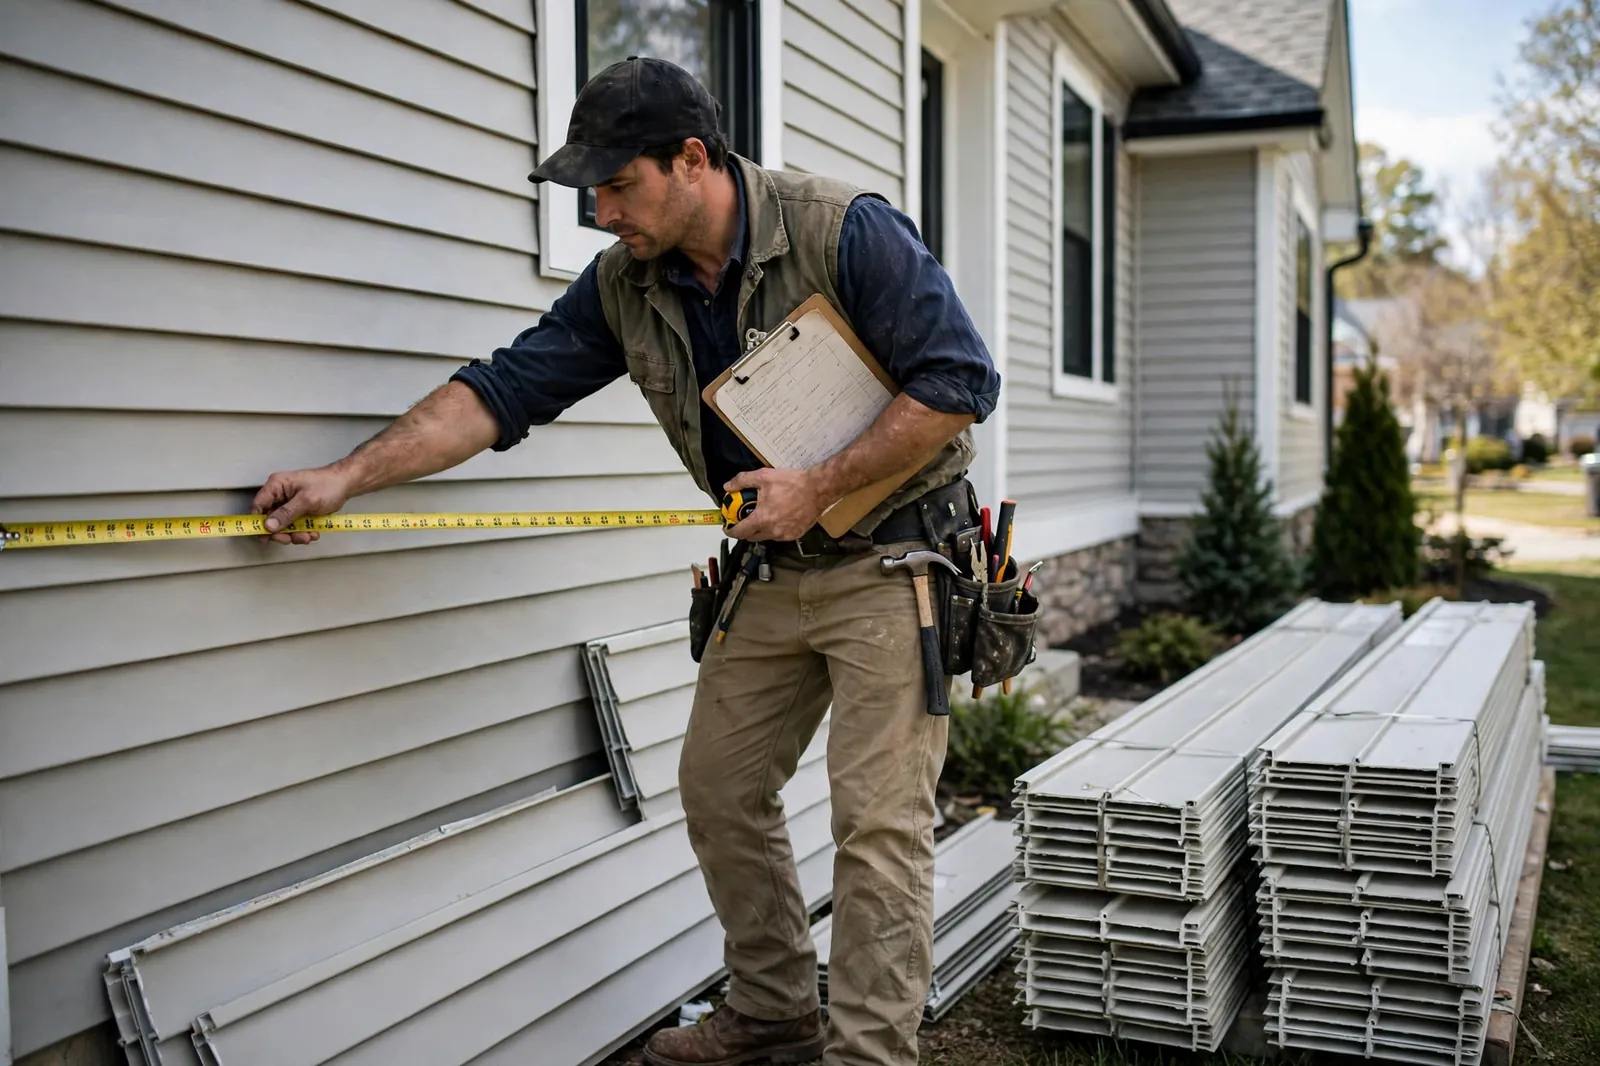
The plan covers the profile, the colour, the trim detail, and the sequence of elevations. The material is ordered to the measurements taken on the visit, not to a guess.
Removal and preparation
Old cladding comes off elevation by elevation. Damaged sheathing is replaced, housewrap is repaired, and flashing is corrected while the wall is open.
Installation and walk-through
New panels go on hung loose, locked fully, with trim set plumb. The finished wall is walked with you, every lock checked by hand, before the crew leaves.
Mistakes to avoid
Nailing panels tight
The most common installation error in a cold climate. A panel nailed tight cannot slide, so it buckles in summer heat and pulls at its locks in winter cold.
Skipping the wall inspection
New siding over soft sheathing or missing flashing hides the problem for a season, then the same stain or soft spot comes back — this time under new panels.
Sealing every gap
Vinyl is a drained system. Caulking the bottom edge of a panel or sealing the weep gaps traps water behind the cladding instead of letting it out.
Ignoring ground clearance
The bottom course needs clearance above grade and above decks and patios. Panels that sit in splash-back or snowpack wick water up behind the wall all winter.
Siding in Warren
Warren's housing stock is the reason vinyl work is steady here. About three in four Warren homes were built before 1970 — 41 percent in the 1960s and 33 percent in the 1940s and 1950s, according to the U.S. Census Bureau. Those homes were built with wood siding, asbestos-cement panels, or early vinyl, and most have been re-sided at least once. A 1960s ranch on a slab or a low crawlspace, with a brick front and vinyl sides, is the most common wall a Warren crew opens — and the most common wall where the sheathing tells a story about a flashing that was never quite right.
Winter sets the schedule. The freeze-thaw cycle is the real test of a Warren installation: more than 100 cycles a winter, with water expanding about 9 percent as it freezes in any gap it finds. Work is planned so that walls are opened and closed in sequence, never left exposed to a January storm, and panels are cut with the cold-weather expansion gap the material needs on the day it is installed — not the gap it would need in July.
Other siding services in Warren
Vinyl Siding ReplacementFiber Cement SidingJames Hardie SidingWood SidingEngineered Wood SidingMetal SidingSiding RepairEmergency Siding RepairSoffit, Fascia & Siding Trim
Frequently asked questions
Straight answers to the questions Warren homeowners ask most.
A single-story ranch usually takes several working days from the first panel off to the last trim piece on, because the wall is opened, inspected, and repaired elevation by elevation rather than stripped all at once. A two-story colonial takes longer, since every elevation needs staging and the upper panels are set from scaffolding. Weather sets the pace in winter — a wall is never left open overnight in a freeze.
It can, with cold-weather handling. Panels are cut with a wider expansion gap in cold weather, they are handled gently because the material is more brittle below freezing, and the crew works one elevation at a time so no wall stands open to snow. The wall inspection matters even more in winter, because frozen sheathing hides soft spots that a summer inspection would find by touch.
Installation covers a home that has never had vinyl — wood, brick, or another cladding is being covered or removed and vinyl is going on for the first time. Replacement covers a home that already has vinyl and is getting new vinyl. Replacement usually involves removing the old panels, which is when the wall inspection happens; installation on a bare wall skips the removal step but still starts with the same inspection.
Buckling is almost always a nailing problem. Vinyl expands in heat, and if a panel is nailed tight it cannot slide in its slot, so it bows outward between fasteners. A correctly hung panel floats on its nails and moves with the temperature. Buckled panels are usually re-hung rather than replaced, unless the lock has been damaged.
No. The colour runs through the panel, so there is no paint layer to peel. Fading and chalking over many years is a surface change in the panel itself, not a paint failure. When fading becomes uneven — the south wall lighter than the north — the panels have aged and replacement is the honest answer, not a coat of paint.
Insulated vinyl is a standard vinyl panel with a contoured foam backing bonded to it. The backing stiffens the panel, quiets the hollow sound, and adds a layer of continuous insulation behind the cladding. On a 1960s Warren home with thin wall insulation, it is often the most noticeable comfort change in the job.
The signs are indirect: stains below windows, a soft spot when you press the wall near the bottom course, paint peeling on the inside of an exterior wall, or a musty smell near the foundation. The only certain check is opening a test area of cladding and looking at the sheathing. That is the first step of any installation visit here.
Roof first, whenever both are planned. Roof work drops debris and tools onto the top course of siding, and the roof-to-wall flashing — the detail that keeps water out of the wall at the roofline — is set during the roofing work. New siding installed first can be damaged by the roofing crew, and the flashing sequence works better when the roof is done first.
Talk about vinyl siding installation for your home?
One call connects you with a local siding professional for Warren and the towns around it.
Call NowTalk to a local siding professional
One call connects you with a local professional for Warren and nearby towns. Describe what your siding is doing — what cracks, what rattles, what stains — and the visit is arranged from there.
Mon–Fri 7:00 AM–10:00 PM ET · Sat 8:00 AM–10:00 PM ET · Sun 7:00 AM–9:00 PM ET
Service area
Sterling Heights, MI · Troy, MI · Madison Heights, MI · Roseville, MI · Eastpointe, MI · Clinton Township, MI · Shelby Township, MI · Fraser, MI · Center Line, MI · Detroit, MI
Warren Siding Pros is a referral service connecting customers with local siding professionals; it is not itself the service company.